Skip to content

Facial is necessary for a healthy skin. But often booking appointments at a spa is heavy on the money and the time. What if you could achieve the same results through natural facial at home? A few natural ingredients from your kitchen and you have a skin brightening facial at home already! If you are wondering how to do facial at home naturally, here’s your guide.
Step By Step Guide For Facial At Home
Home facial steps include six major methods.
1. Cleansing Method
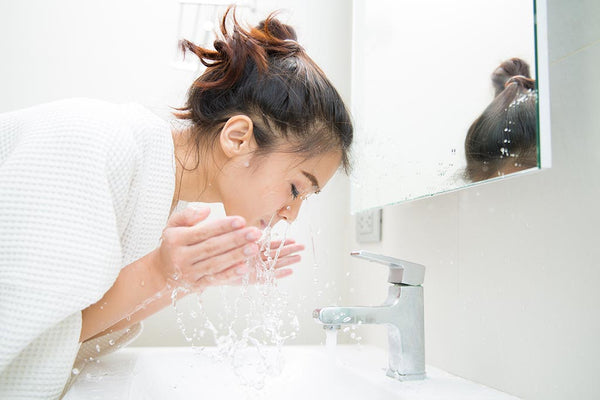
Cleansing removes dirt and make-up. Your skin gets clean for the facial. Make sure you have washed your hands properly before touching your face.
How To Do
- Get your favourite natural cleanser out. For oily skin, go for an oil-free cleanser, while for dry skin, choose a creamy one. For a fruit facial at home, try a fruit face-wash.
- Wash your face with lukewarm water. The water should not be too hot.
- Before applying the cleanser, do remove your makeup with a remover first.
- After this, take a small quantity of the cleanser. Dot it around your face.
- Through circular motion, rub it around your face and neck for a minute.
- Wash it off with cool water.
Also Read : Are You Cleansing Your Face Properly?
Homemade Recipes For Cleansing
Milk Or Honey For Oily Or Combination Skin
Raw honey is a superb cleanser. Quality of the honey must be determined, as not every honey brand is authentic. Alternatively, you may also use milk as a cleanser. It hydrates the skin. These make excellent products for natural facial at home.
Oils For Dry Skin
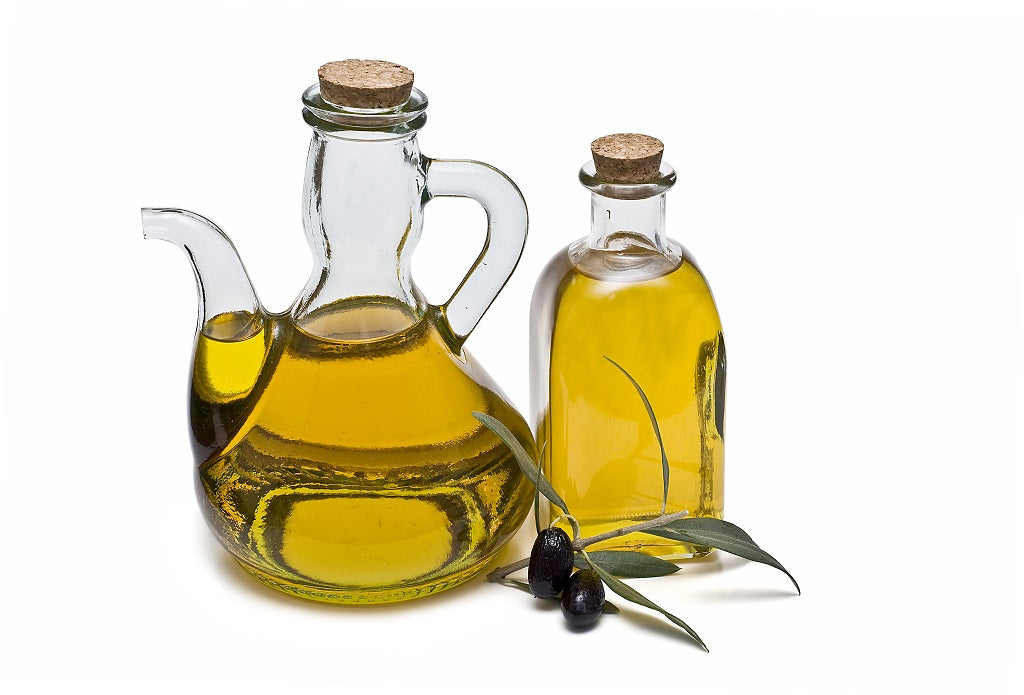
In case of facial for dry skin at home, try the oil cleansing method - use jojoba oil, almond oil or coconut oil as a cleanser.
If you are struggling with acne, blemishes, hyperpigmentation and scarring, try Anveya 24K Gold Goodbye Acne Kit! It comes with cleanser and serum containing all skin-friendly active ingredients such as Azelaic Acid, Tea tree oil, Niacinamide that improves your skin's appearance by controlling acne, blemishes and scarring.
ANVEYA 24K GOLD GOODBYE ACNE KIT

- Helps in skin renewal
- Fights against acne causing bacteria
- Control sebum secretion
- Calms and soothes active acne
- Works on acne scarring and blemishes
2. Use Exfoliator
Exfoliation removes the dead skin cells, specifically in case of fruit facial at home. It also unclogs pores from dirt, cleaning off blackheads and whiteheads.
How To Do
- After splashing some lukewarm water on your face, dot your face with the exfoliator.
- Start scrubbing gently in a circular motion.
- Focus on the sides of your nose, and the forehead. Avoid the eyes.
- Do not be rough or it will wear your skin out.
- If you have oily skin, do not scrub beyond 5 minutes as it increases oil secretion.
- Wash off with cold water.
Homemade Recipes For Exfoliator
For fruit facial at home, many recipes are available.
Orange Scrub
Mix 4 teaspoon of orange juice and 2-3 teaspoon of oats. This works well for acne facial at home.
Lemon Scrub
Add in one teaspoon of lemon juice to same quantities of honey and sugar for this scrub.
Papaya Scrub
For a papaya facial at home, mix two teaspoons of mashed papaya and one teaspoon of oats, honey and sugar to form a paste.
3. Steam For Purifying Pores

While undertaking natural facial at home, steaming opens up the pores, for dirt to come off easily. The home facial steamer is quite easy to make.
How To Do
- Boil some water to steam.
- Use a towel to create a tent over your head. This will be used to contain the steam to your face.
- Move your face near the steam, but not only till your skin doesn't feel like it's burning.
- Alternatively, you could dip a towel in warm water, and immediately pat it gently over your face.
- Any homemade facial steamer should be applied for 5-10 minutes.
- For a facial for sensitive skin at home, avoid this step.
Homemade Recipes For Purifying Pores
To modify the home facial steamer, add essential oils like lavender for their fragrance. It would act as aromatherapy. If not this, you may add in herbs like mint. Another trick is to dip tea bags, like chamomile.
4. Apply Face Mask
Masks are a great way to remove excess oil and dirt, especially, in the case of acne facial at home. Some masks may also be tailored for facial for dry skin at home. It adds nutrients to the face.
How To Do
- Choose a face mask according to your skin type clay mask for oily skin, hydrating gel/creamy masks for dry skin.
- Apply a thin layer of the mask.
- Avoid the area around the eye and mouth.
- Leave it for 15-20 minutes before washing it off.
- Using cucumbers for eyes relaxes it.
Homemade Recipes For Face Mask
Papaya-Lemon-Honey Pack
Specifically, for papaya facial at home, mix one mashed ripe papaya, and one teaspoon of lemon and honey. This works for all types of skin.
Lemon-Honey-Yogurt Pack
Mix 1 teaspoon each to make a paste.
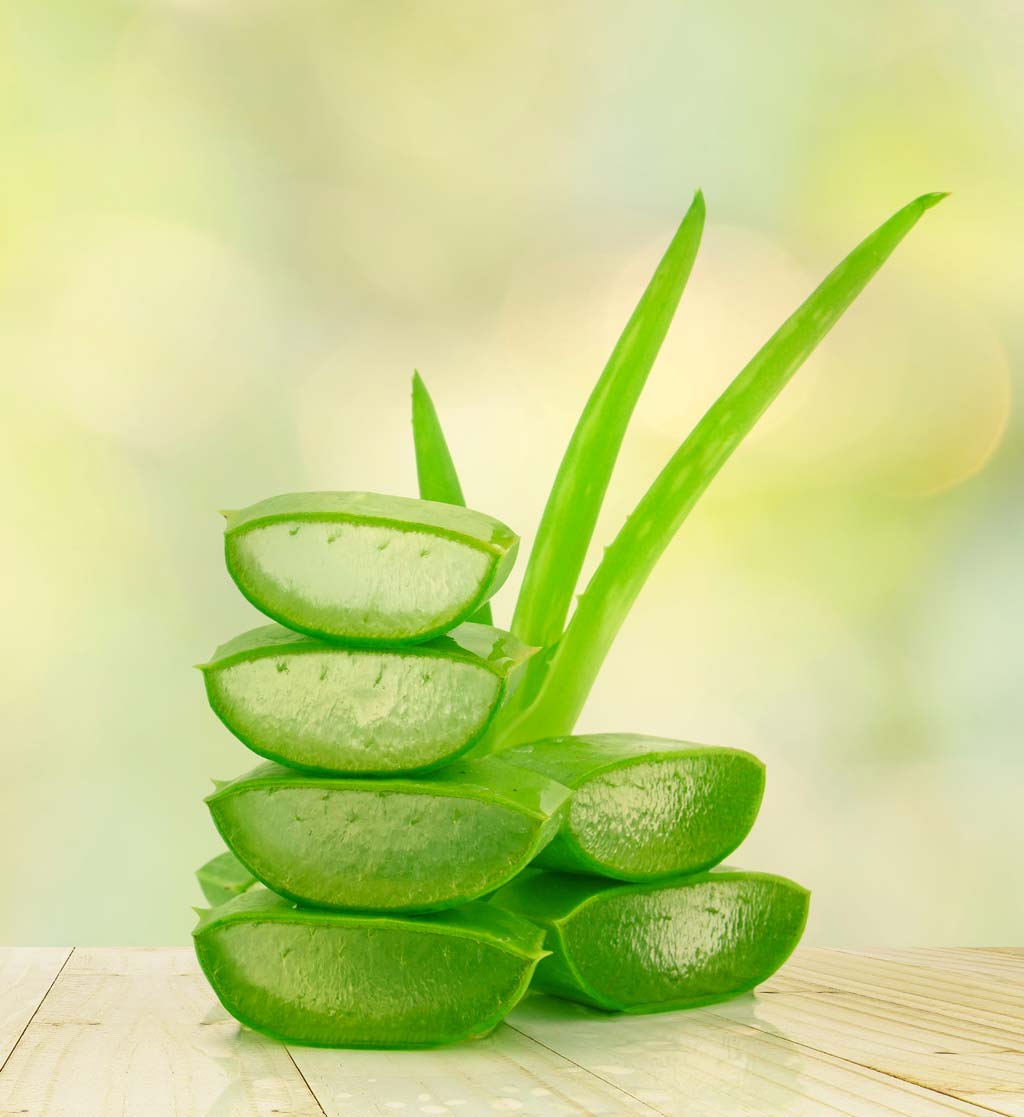
Multani-Mitti- Aloe vera Gel Pack
Mix one tablespoon of aloe vera to two tablespoons of Multani mitti. This works well for oily skin, specifically for acne facial at home.
Banana-Honey Pack
Mix one mashed ripe banana and honey if you want to try out a facial for dry skin at home.
Also Read : Master the Skill of Using Face Masks for a Radiant Skin
5. Use Toner

Open pores may welcome dirt. Toners help close those pores. This is especially useful for doing a facial for sensitive skin at home.
How To Do
- Pour a toner of your choice in a bowl.
- Use a cotton ball to dab it around your face gently.
- In case you have combination skin, limit it to the T-zone only.
- Allow it to dry naturally.
Homemade Recipes For Toner
Apple-Cider Vinegar
Mix 1 teaspoon of apple cider vinegar and water. It balances your skin’s pH level.
Rosewater
Mix one tablespoon of rosewater with one tablespoon of water to make a toner.
6. Moisturize Skin
After exposing your skin to the various procedures, it needs hydrating to enhance the glow. Moisturizer is, thus, an essential home facial step.
How To Do
- Take a small amount of moisturizer
- Apply it gently in circular motions.
- Allow the skin to absorb it.
- It works best on skin that is little damp.
Homemade Recipes For Moisturizing
Almond/Olive Oil
¬Ω teaspoon of either oil works well for normal skin.
Coconut/Argan Oil
¬Ω teaspoon of coconut or argan oil works for dry skin.
Jojoba Oil/Aloe vera Gel
Both the moisturizers ( ¬Ω teaspoon) work for oily skin.
Also Read : Top 15 Homemade Moisturizers For Dry, Oily And Sensitive Skin
Things To Remember While Doing Facial At Home
Irrespective of which recipe you use for your facial at home, some of the points must be kept in mind while taking care of your skin.
- The facial steps leave your skin soft but vulnerable. So wait a few hours before applying makeup.
- Follow the time indicated.
- Keep all the ingredients handy to manage the steps better.
- Natural facial at home once a week is recommended. The natural ingredients help revive your skin better.
- Do a patch test on the side of your neck for each mixture to check its suitability for your skin.
- Relax before beginning the facial.
If you remember the points of this article, all your queries regarding how to do facial at home naturally should be answered. It is only a matter of time before you become an expert at it!
Disclaimer: All the content on anveya.com/blogs is solely for information. It is not intended to be a substitute for professional medical advice, diagnosis or treatment. Always seek the advice of your physician or a qualified health care provider. The information, suggestion or remedies mentioned on this site are provided without warranty of any kind, whether express or implied.