Skip to content

Bleaching your hair is a popular hair trend that has been around for almost a decade. Bleaching is the pre-lightening treatment done to the hair in order to lose your natural hair color and deposit new vibrant hair color of your choice. While going to the salon for a professional treatment can be an option, you can consider bleaching your hair at home as it is more convenient and budget friendly. However, bleaching your hair at home can be a task if you are unaware of the process. Don't worry; we have got you covered. This blog will provide a step-by-step guide on how to bleach your hair at home and some pro tips to avoid major bleaching mistakes.
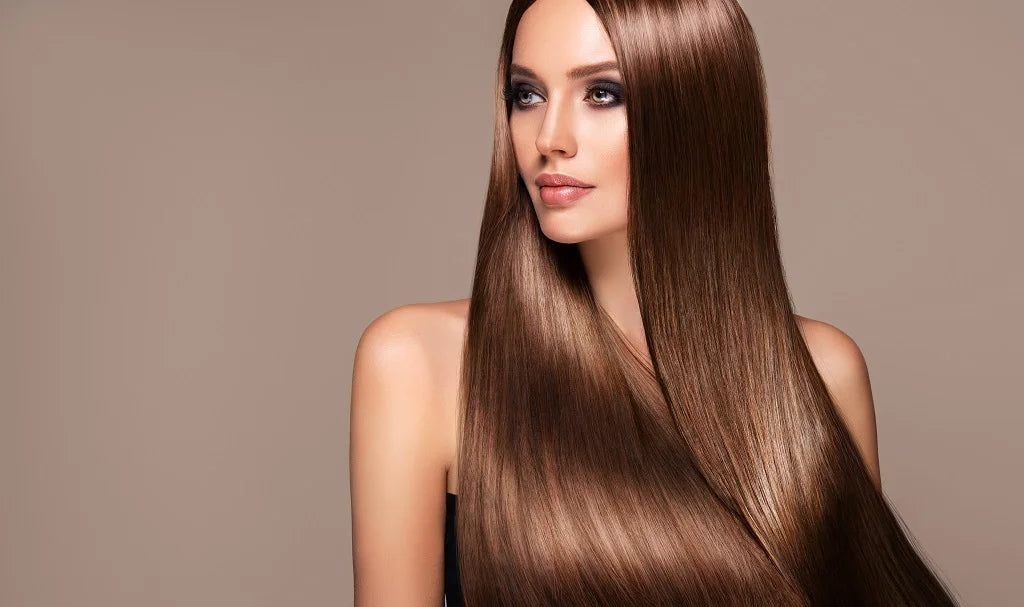
Step-By-Step Guide To Bleach Your Hair At Home

Source: Shutterstock
A bleaching kit may contain cream and a developer in a pre-measured amount. Empty the contents of the bleaching cream and developer into the mixing bowl and mix well with the help of a brush. (The usual bleach to developer ration is 1:2 respectively.)
Before starting the bleaching process, we recommend doing patch and strand tests to check for allergic reactions. Doing a patch test helps to know how well bleach has developed. You are good to go if you do not notice any adverse reaction on your skin after 24 hrs.
- Wear an old T-shirt which you may not mind getting bleached.
- Bleach should be applied on dry hair for the best result.
- Make sure you put on gloves before applying the bleach to your hair.
- Divide your hair into 4-5 sections; you can increase or decrease the number of sections according to your choice.
- Start applying the bleach, taking each section at a time. Make sure that you completely saturate each hair of every section.
- Experts recommend applying bleach from the bottom and slowly moving toward the roots. If you are planning to bleach your whole hair, then applying the bleach on the roots should be the final step of your bleaching process as the hair near the roots gets heated up quickly due to body heat, resulting in faster development of the color than the rest of the strands.
- Once done, cover your head with a shower cap, as the heat generated inside the shower cap helps the bleach to develop quickly.
- Let it rest for some time. The time required to develop the bleach depends on your hair's color and texture. Black hair will take more time than light brown hair to bleach, so keep checking every 10 minutes to see how the color develops on the hair. However, it is only advisable to let the bleach stay for up to 30 minutes.
- Ensure you rinse your hair with cold water after bleaching.
While bleaching your dark hair, you may notice that your hair has changed to orange. It is common, so you need not worry. This means you must undergo one more bleaching session to lighten your hair. Once done with the first bleaching session, wait for the next bleaching session. Let your hair follicles heal from the last bleaching session. Leave your hair undisturbed for the next couple of weeks before going for the second bleaching session.
Your pre-lightened hair requires extra care as it is more prone to hair damage, dryness and split ends. You may not have to undergo the whole bleaching process during the second session. But it all depends on the condition and color of your hair.
You can check out Colorisma Semi-Permanent Hair Color With bond repair Hyaplex to color your hair post bleaching!
COLORISMA SMART SEMI-PERMANENT HAIR COLOR

• Free from harmful chemicals.
• Repairs hair-bonds as your colors.
• lasts 8 - 10 washes.
• Works best on pre - lightened hair.
If you use temporary hair color, you can skip the bleaching process; instead, directly choose a color to create a new look daily. Temporary hair colors such as neon, orange, and yellow are perfect for theme parties and night outs, as they reflect your funky side.
On that note, why not check out the temporary hair color make up from Anveya Colorisma? They're 2 min hair colors coming in fabulous matte and metallic shades!
ANVEYA TEMPORARY WASH HAIR COLOR MAKEUP

• Temporary, commitment - free. Wash off with your next wash.
• Unlimited looks for any mood.
• 2 -minutes DIY color application.
• No bleach, no dye, no damage.
Also Read : Is Temporary Hair Color Better For Hair?
Some Post-Bleach Haircare Tips
Each strand is made up of 3 types of bond-(disulfide, hydrogen and salt bond). Bleaching causes the cuticles to raise, causing damage to the bond and weakening the bonds in your hair, resulting in snipping, split ends and hair damage. You need to consider a few things pre- and post-bleach application processes to maintain healthy and vibrant hair. So, avoiding some common bleaching mistakes is essential for ensuring hair health.
1. Use Haircare Products to Protect and Repair The Damage

Source: Shutterstock
Use hair care products specially formulated for repairing your strands' weak and damaged bonds. It strengthens your hair and improves its resilience, thus protecting it from the damage caused by bleaching.
2. Go For Deep Conditioning Hair Treatments

Source : Shutterstock
A deep-conditioning hair treatment pre and post-bleaching process helps to improve the hydration level of your strands, plumps up the strands, adding volume and bounce to your hair. This hair treatment adds shine to lackluster hair. Consider a deep conditioning hair treatment a few days before and a few days after bleaching your hair; it helps to restore the lost hydration and nourishment to your strands.
3. Use A Heat Protectant After Bleaching

Source : Freepik
Bleaching makes your hair susceptible to damage, split ends and dryness. Using a heat protectant serum or spray helps minimize the damage while heat styling your hair after bleach.
4. Invest In A Good Conditioner

Source: Shutterstock
Bleaching raises the cuticles resulting in moisture loss. Invest in an intense moisturizing conditioner or a leave-on hair serum that protects your hair from extreme climatic conditions and harmful UV rays to restore your hair's hydration level.
5. Brush Gently

Source : Shutterstock
Bleaching makes your hair fragile and more prone to breakage. Thus, be careful while combing your hair. First, detangle your hair with a finger and then gently comb; this helps with hair breakage and thinning.
Now your hair is ready for coloring. You can use a semi-permanent hair color of your choice and color your hair in vibrant hues of red, violet, and purple. Give wings to your creativity with hair coloring and get ready to take over the world.
Disclaimer: All the content on anveya.com/blogs is solely for information. It is not intended to be a substitute for professional medical advice, diagnosis or treatment. Always seek the advice of your physician or a qualified health care provider. The information, suggestion or remedies mentioned on this site are provided without warranty of any kind, whether express or implied.